
Ensure optimal traction on your surfboard by mastering the art of waxing. Learn the proper waxing technique, the importance of base and topcoats, and when to reapply. Our step-by-step guide helps you maintain a grippy surface for enhanced performance on the waves.
1. Start with a clean board.
This step is particularly important if going somewhere warm. Harder warm water wax will not stick to softer cold water wax. Even just a bit of residue can trip you at the first hurdle so make sure to clean thoroughly. If you’re somewhere warm, leave your board in the sun for 5-10 minutes and simply remove with a wax comb or an old bank card. If you’re in colder climes you can *carefully* use a hairdryer to melt the wax, making it easier to remove. Once you’ve removed as much as possible, use a small amount of white spirit on a cloth to remove that stubborn waxy residue. This will bring even the most gunked-up boards to rack-fresh gleam!
2. Buy good wax
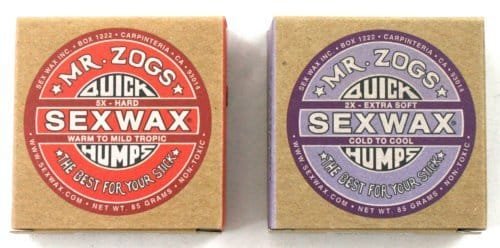
It’s not ‘just wax’. Some are better than others. As one of the cheapest things we buy and your main point of contact with your board, you might as well get the good stuff. Whilst there is an element of personal preference, we have tried most of them and think Sex Wax and Fu-Wax are the best. Sex Wax is tried and tested, and is widely available. (Though make sure to buy the stuff in the cardboard, not the plastic wrap – that stuff is smear city and the packaging is piss-poor)
If you can find it, Fu-Wax is the new kid on the block and championed by most of the WCT. It’s pricey at £6 per bar, but we think it’s money well spent as it offers incredible grip and seems to last for longer than other brands. Just ensure you choose a block which is made for the water temperature you’re surfing in. You can find Fu-Wax here.
3. Cold board + cold wax = perfect bumps
Now your board is clean and fresh, find a cool, shady area where you can apply the new wax. If it’s hot where you are, you can also put your wax in the fridge for 10 minutes before applying. The board and wax being cool prevents the wax from smearing and allows it to form small, hard bumps. We’ve all been there pushing smeared lumps of wax around our board wondering when we should give up and throw the whole thing in the bin. Don’t be that guy.
4. Starting Grid

Wax sticks to wax, so draw a criss-cross grid on your board with the edge of the wax so that your future rubbings will have something to adhere to. Start with a light covering, then go over the lines again until they have some relief. Your wax should go from the very edge of the traction pad to at least 3/4 way up the board. Guy with the naked 12 inches infront of your tail pad… Why? Wax isn’t THAT expensive and it can be beneficial to be able to move that back foot forward when you’re driving through the tube of your life.
5. No pressure

Rub the wax rail to rail with almost NO PRESSURE for at least a couple of passes of the board. When it comes to how to wax a surfboard, using a very light pressure makes all the difference. You may think the wax isn’t sticking and be tempted to apply a bit more pressure. Resist the urge! Be patient, persevere and eventually these light passes will start to build up and fill in the gaps creating the perfect base.
6. Rail to Rail, Nose to Tail

Go rail to rail for a couple of coats, then nose to tail, and so on. Switching directions will help to fill in the gaps thoroughly – especially if your deck is full of craters like this one. Once the wax starts to coat fully and you feel like you’re finally getting somewhere, gradually begin to apply a bit more pressure with each pass.
7. Finishing circles

You should now have a thorough coating of fresh wax on your board but your bumps may be missing the height you feel they deserve. The last step of how to wax a surfboard is to switch to a circular motion and apply slightly more pressure again. Go back and forth until you have your desired coverage. A few more passes for good luck and you should be good to go!
Comments
0 comments
Article is closed for comments.